
Dehydrating pineapples is a simple and rewarding way to preserve this tropical fruit for healthy, portable snacks. Whether you prefer ultra-thin pineapple chips or thicker, chewy bites, this guide will walk you through the process, including how to cut a pineapple, determine dryness, condition the fruit, and store it safely. We’ll also cover the nutritional benefits of dehydrated pineapple and why fresh is better than canned. Let’s get started!
Why Dehydrate Pineapples?
Dehydrated pineapples are sweet, flavorful, and perfect for snacking, hiking, or adding to recipes. Drying removes moisture, preventing bacteria, yeast, and mold growth while concentrating the fruit’s natural sugars and nutrients. Additionally, dehydrating as a method of food preservation can be used to avoid food waste, meaning less food waste going into landfills! No pre-treatment is needed for pineapples, making them an easy choice for beginners. You can customize the texture—slice thin for crispy chips or thicker for chewy, candy-like treats.
Nutrition Facts for Dehydrated Pineapple
Dehydrating pineapples intensifies their flavor and nutrients. Here’s a breakdown for approximately 1 cup (about 1.4 oz/40g) of dehydrated pineapple (no added sugar):
- Calories: 130–150 kcal
- Carbohydrates: 35–40g (mostly natural sugars)
- Fiber: 2–3g
- Vitamin C: 20–30% of daily value (slightly reduced due to heat)
- Manganese: 30–40% of daily value (supports bone health and metabolism)
- Other Nutrients: Small amounts of potassium, magnesium, and iron
- Fat and Protein: Negligible
Dehydrating preserves most of the pineapple’s vitamins and minerals, though some heat-sensitive nutrients like vitamin C may decrease slightly. The concentrated sugars make it higher in calories per volume than fresh pineapple, so portion control is key. Enjoy as a wholesome, naturally sweet snack without added preservatives.
Ingredients
- Fresh pineapples (the number depends on your dehydrator’s capacity and pineapple size—1 large pineapple typically fills 2–3 trays)
Note: You can dehydrate canned pineapple, but fresh is preferable. Canned pineapple often comes in syrup or juice, which can make it sticky, overly sweet, and slower to dry. If using canned, drain and rinse thoroughly, pat dry, and expect a less vibrant flavor.
Equipment
- Sharp knife or mandolin
- Cutting board
- Food dehydrator
- Paring knife (for coring rings)
- Airtight containers (e.g., mason jars) or plastic bags for storage
- Optional: vacuum sealer for extended storage
How to Cut a Pineapple
Cutting a pineapple is straightforward with these steps:
- Select a Ripe Pineapple: Choose one with a sweet, fragrant smell and slightly soft flesh when pressed. Rinse the exterior.
- Trim the Ends: Place the pineapple on a clean cutting board. Slice off the top (crown) and bottom with a sharp knife to create flat surfaces.
- Remove the Skin: Stand the pineapple upright. Slice downward to remove the spiky skin in strips, following the fruit’s curve. Minimize flesh loss.
- Remove Eyes and Blemishes: Use a paring knife to cut out any remaining brown “eyes” or bad spots.
- Choose Your Cut: Decide between rings or chunks (see below).
- Clean Up: Discard skin, crown, and core. Wipe the cutting board to remove sticky residue.
Directions for Dehydrating Pineapple
Step 1: Slice the Pineapple
The slice thickness affects the final texture:
- For Crispy Pineapple Chips: Slice super thin, about 1/8 inch (3mm). A mandolin ensures uniform slices.
- For Chewy Pineapple Goodness: Slice thicker, about 1/4 inch (5–6mm).
Cutting Options:
- Rings: Lay the pineapple on its side and slice into even 1/8–1/4 inch (3–6mm) rounds. Use a paring knife or small cookie cutter to remove the tough core from each ring.
- Chunks: Stand the pineapple upright, slice in half lengthwise, then into quarters. Cut away the core from each quarter. Slice the flesh into 1/8–1/4 inch (3–6mm) segments.
Step 2: Arrange in the Dehydrator
- Place slices on dehydrator trays in a single layer. They can be close together (they shrink during drying) but should not overlap for even drying.
- The number of pineapples you can dry depends on your dehydrator’s size and the pineapples’ size. A medium dehydrator typically holds 1–2 large pineapples.
Step 3: Dehydrate
- Set the dehydrator to 140°F (60°C).
- Start with 10 hours, checking after 8 hours. Drying times vary based on:
- Pineapple variety (juicier ones take longer)
- Slice thickness
- Ripeness
- Dehydrator model and ambient humidity
- For immediate snacking: Stop when the pineapple is pliable and chewy, slightly underdone for softness.
- For long-term storage: Dry until leathery and not sticky to prevent mold.
Step 4: Determine Dryness
To ensure the pineapple is properly dried (about 20% moisture content):
- Let the pieces cool for 30–60 minutes.
- Cut a few pieces in half; there should be no visible moisture.
- Squeeze the fruit; no moisture should come out.
- The pineapple should be pliable but not sticky or tacky. When folded, it shouldn’t stick to itself.
- If it’s too moist, return to the dehydrator for 1–2 hours and recheck.
Step 5: Condition the Pineapple
Conditioning equalizes moisture among pieces to prevent mold:
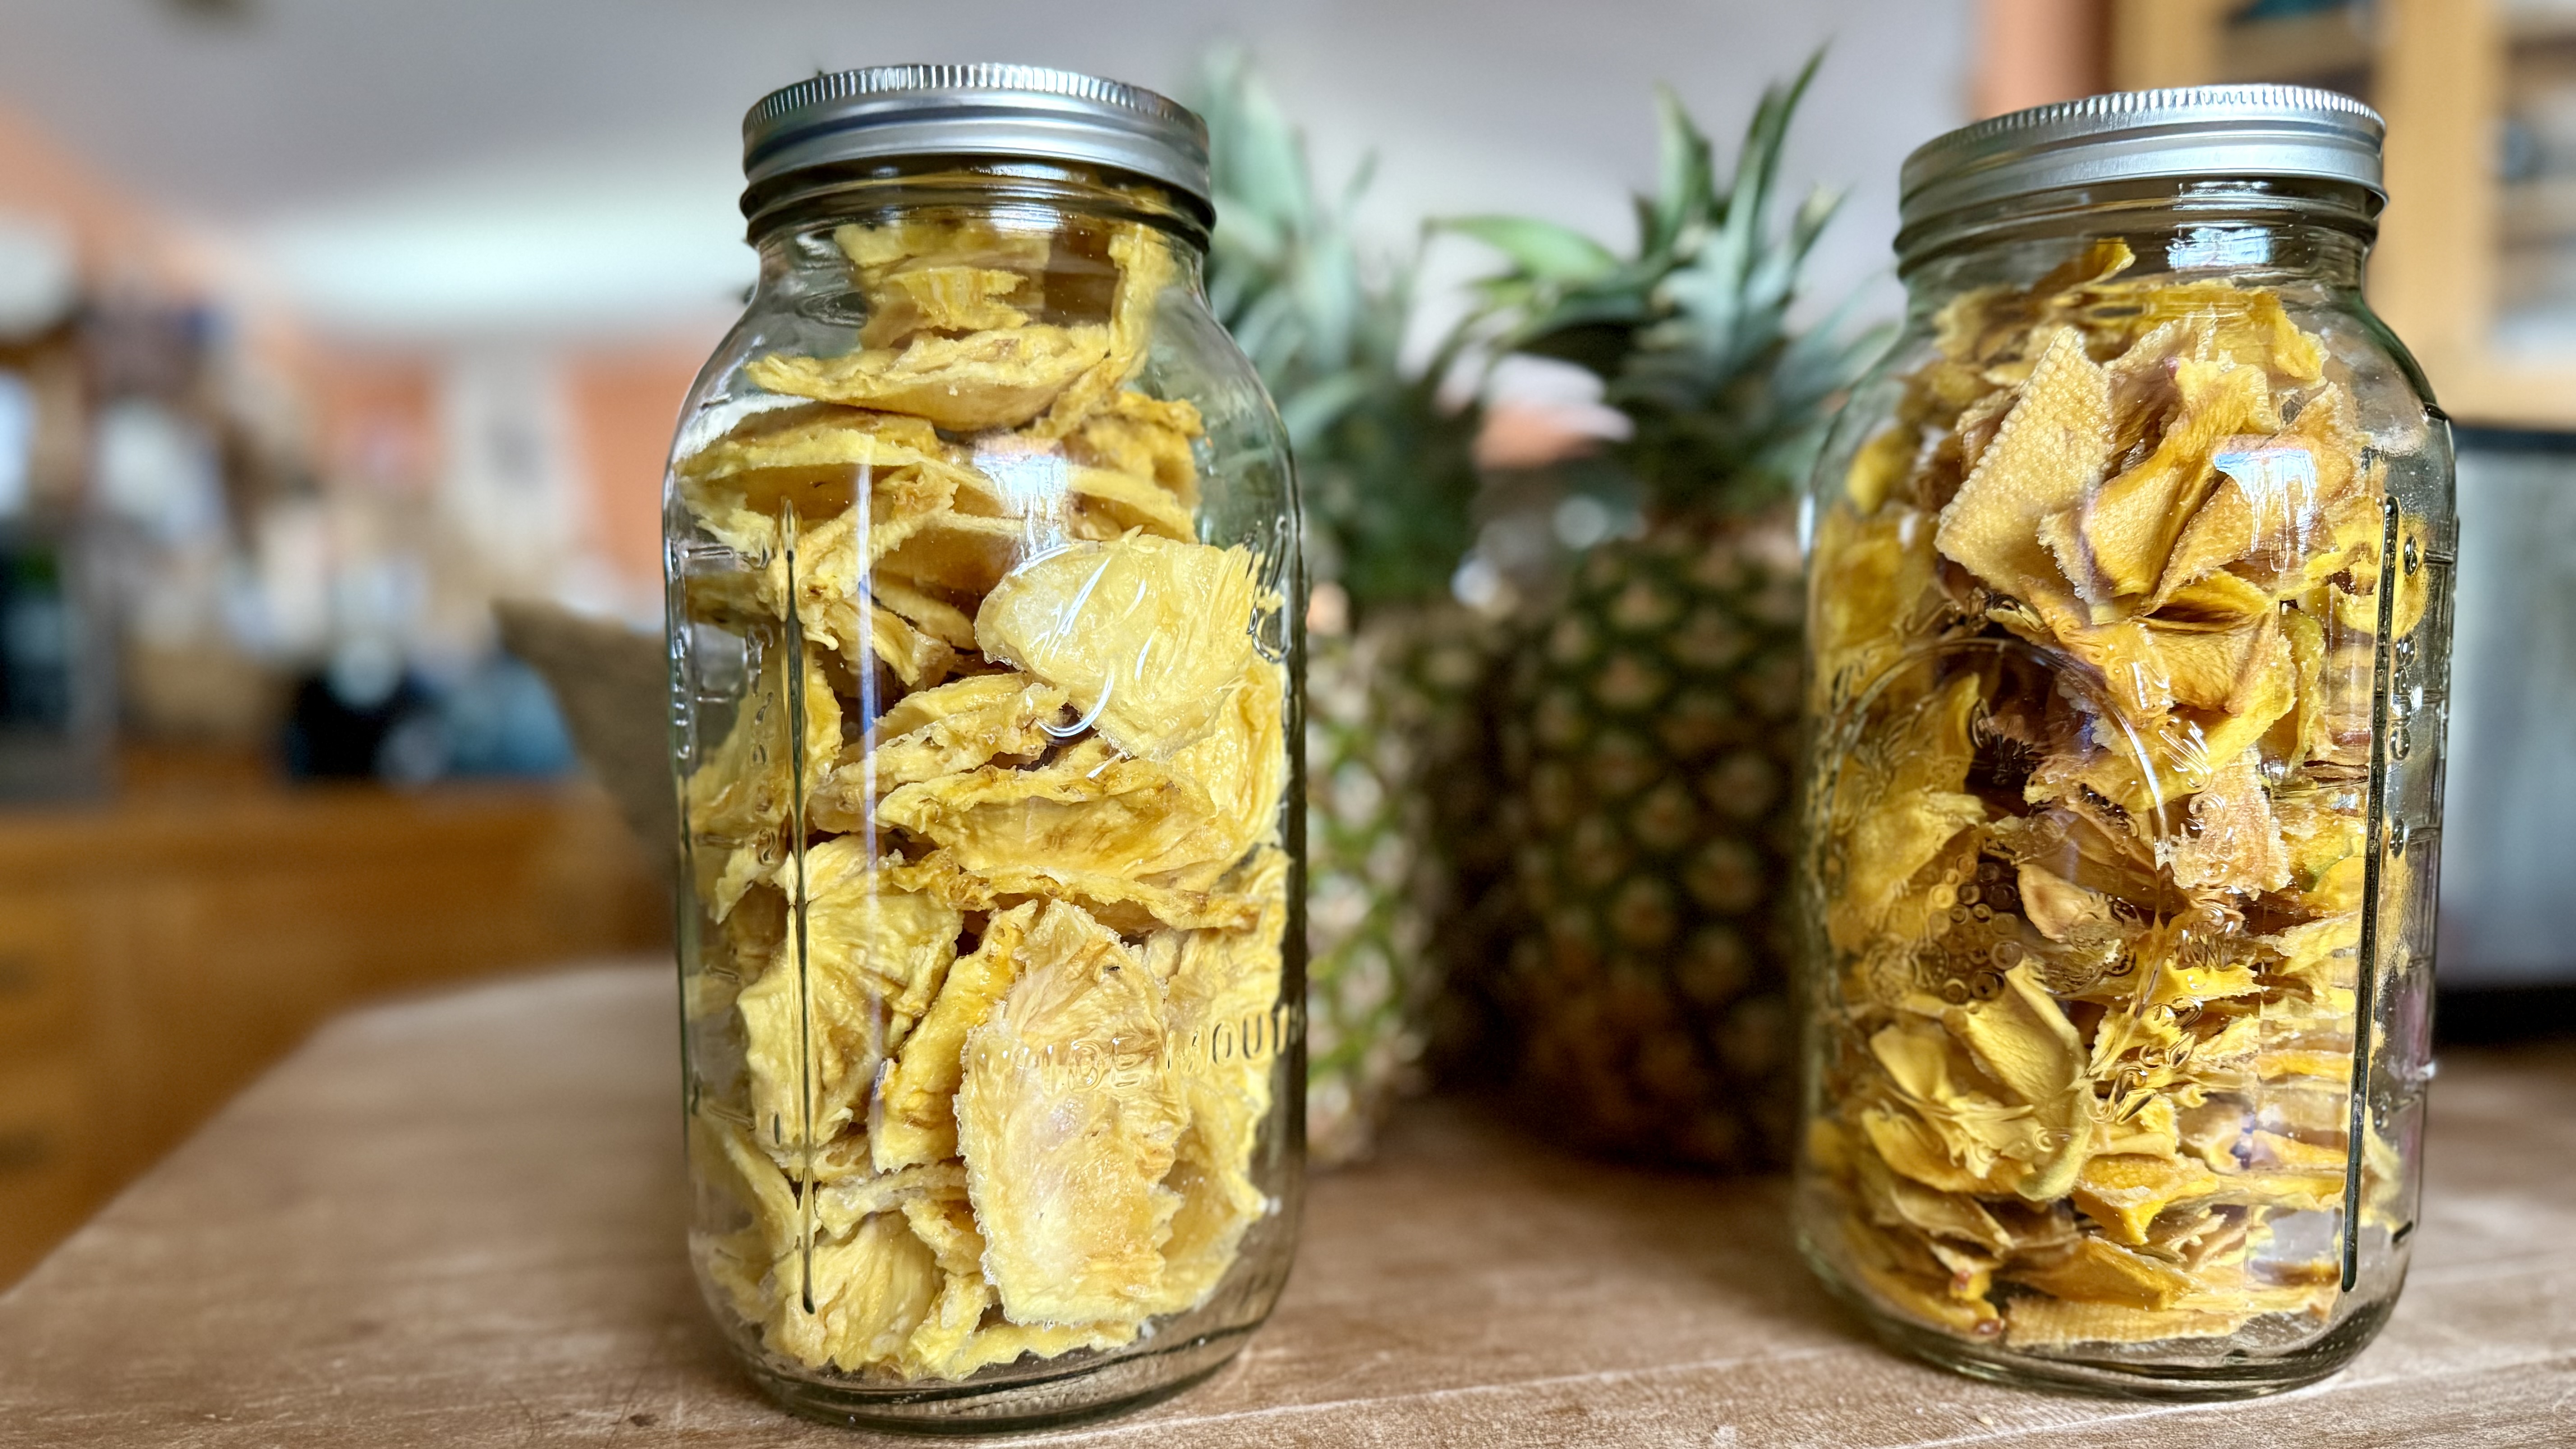
- Pack cooled, dried pineapple loosely in clean glass or plastic jars (mason jars work well).
- Seal and let stand for 2-4 days, shaking daily to separate pieces and check for condensation.
- If condensation appears, return the fruit to the dehydrator for additional drying, then restart conditioning.
- After conditioning, the pineapple is ready for storage.
Step 6: Store
- Cool completely before packaging to avoid moisture buildup.
- Short-term: Store in airtight containers, like mason jars, in a cool, dry, dark place for up to 1–2 months at 60°F (16°C) or 6 months at 80°F (27°C).
- Long-term: Use a vacuum sealer to remove air from mason jars or plastic bags, extending shelf life up to a year. Check periodically for moisture or mold.
- If sulfites were used (not recommended for pineapples), place fruit in a plastic bag before storing in metal containers to prevent corrosion.
Tips for Success
- Ripeness: Overripe pineapples may take longer to dry, while underripe ones lack sweetness.
- Check Often: Monitor near the end of drying, as pineapples dry faster toward the finish and can become brittle.
- Texture Variety: Try thin chips and thicker chews in one batch to find your favorite.
- Mold Prevention: Ensure full dryness for long-term storage. Discard any pieces showing browning or mold.
- Safety: Follow tested procedures from trusted sources (see links below).
Enjoy Your Dehydrated Pineapple!
Dehydrated pineapple is perfect for snacking, trail mix, smoothies, or baking. Whether you love crispy chips or chewy bites, you’ll enjoy the natural sweetness without added sugars. Store properly, and you’ll have a tropical treat ready anytime!
For more safe and tested food preservation methods, visit:
- University of Georgia Extension: Drying Fruits
- Colorado State University Extension: Drying Fruits
- NMSU Bernalillo County Extension: Food Prep, Preservation, and Safety
Adapted from general food drying principles, with specific guidance for pineapples, dryness testing, and conditioning.
